
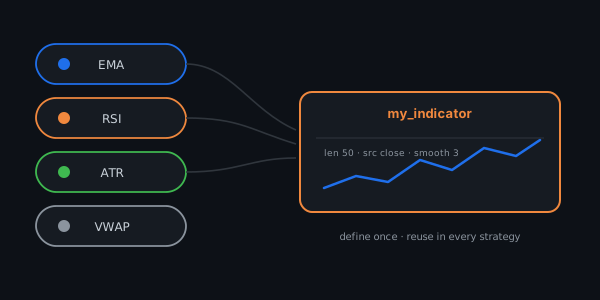
On most platforms an Indicator is something you re-declare inline every time you want it. Here it is a first-class artifact with its own page — the Indicator Designer. You define an indicator once, give it a name, and strategies reference it by that name.
Anatomy of an indicator
An indicator has a kind (the calculation — ema, rsi, donchian, vwap, and more), its parameters (an EMA's period, say), and a tag — the name rules use to reach it. In a strategy you might declare ema_fast as an EMA with period 100; every rule then reads {indicator: ema_fast, field: value}.
Fields: one indicator, several outputs
Some indicators output a single number; others output several. An EMA exposes one value. A Donchian channel exposes upper, mid, and lower. The field you pick in a rule selects which output you mean — so the same indicator can drive a breakout rule (against upper) and a pullback trigger (against mid) at once.
Remember what an indicator is not: a prediction. It is a transformation of price that highlights one feature. The What an indicator is lesson makes that case in full — worth re-reading before you start stacking indicators in search of confluence that is really just repetition.
Reflexion
List the indicators you reach for most. How many are genuinely measuring different things, and how many are the same OHLC data smoothed two different ways?
Weiterführende Lektüre
Vertiefende Beiträge zu diesem Thema aus unserem Blog (Englisch).
- Moving averages, explained from scratch (SMA, EMA, WMA)Moving averages from the ground up: how SMA, EMA and WMA differ, how to pick a period, what they tell you, and the common ways they lie to retail traders.
- The RSI indicator, explained properly — most traders use it wrongThe RSI indicator explained: what Relative Strength Index really measures, why 70/30 levels mislead, and how to use RSI in mean-reversion and trend rules.
- Bollinger Bands: the squeeze, the bounce, and what actually worksBollinger Bands explained: how the bands are built from standard deviation, why the squeeze and the bounce work differently, and how to backtest the strategy.